

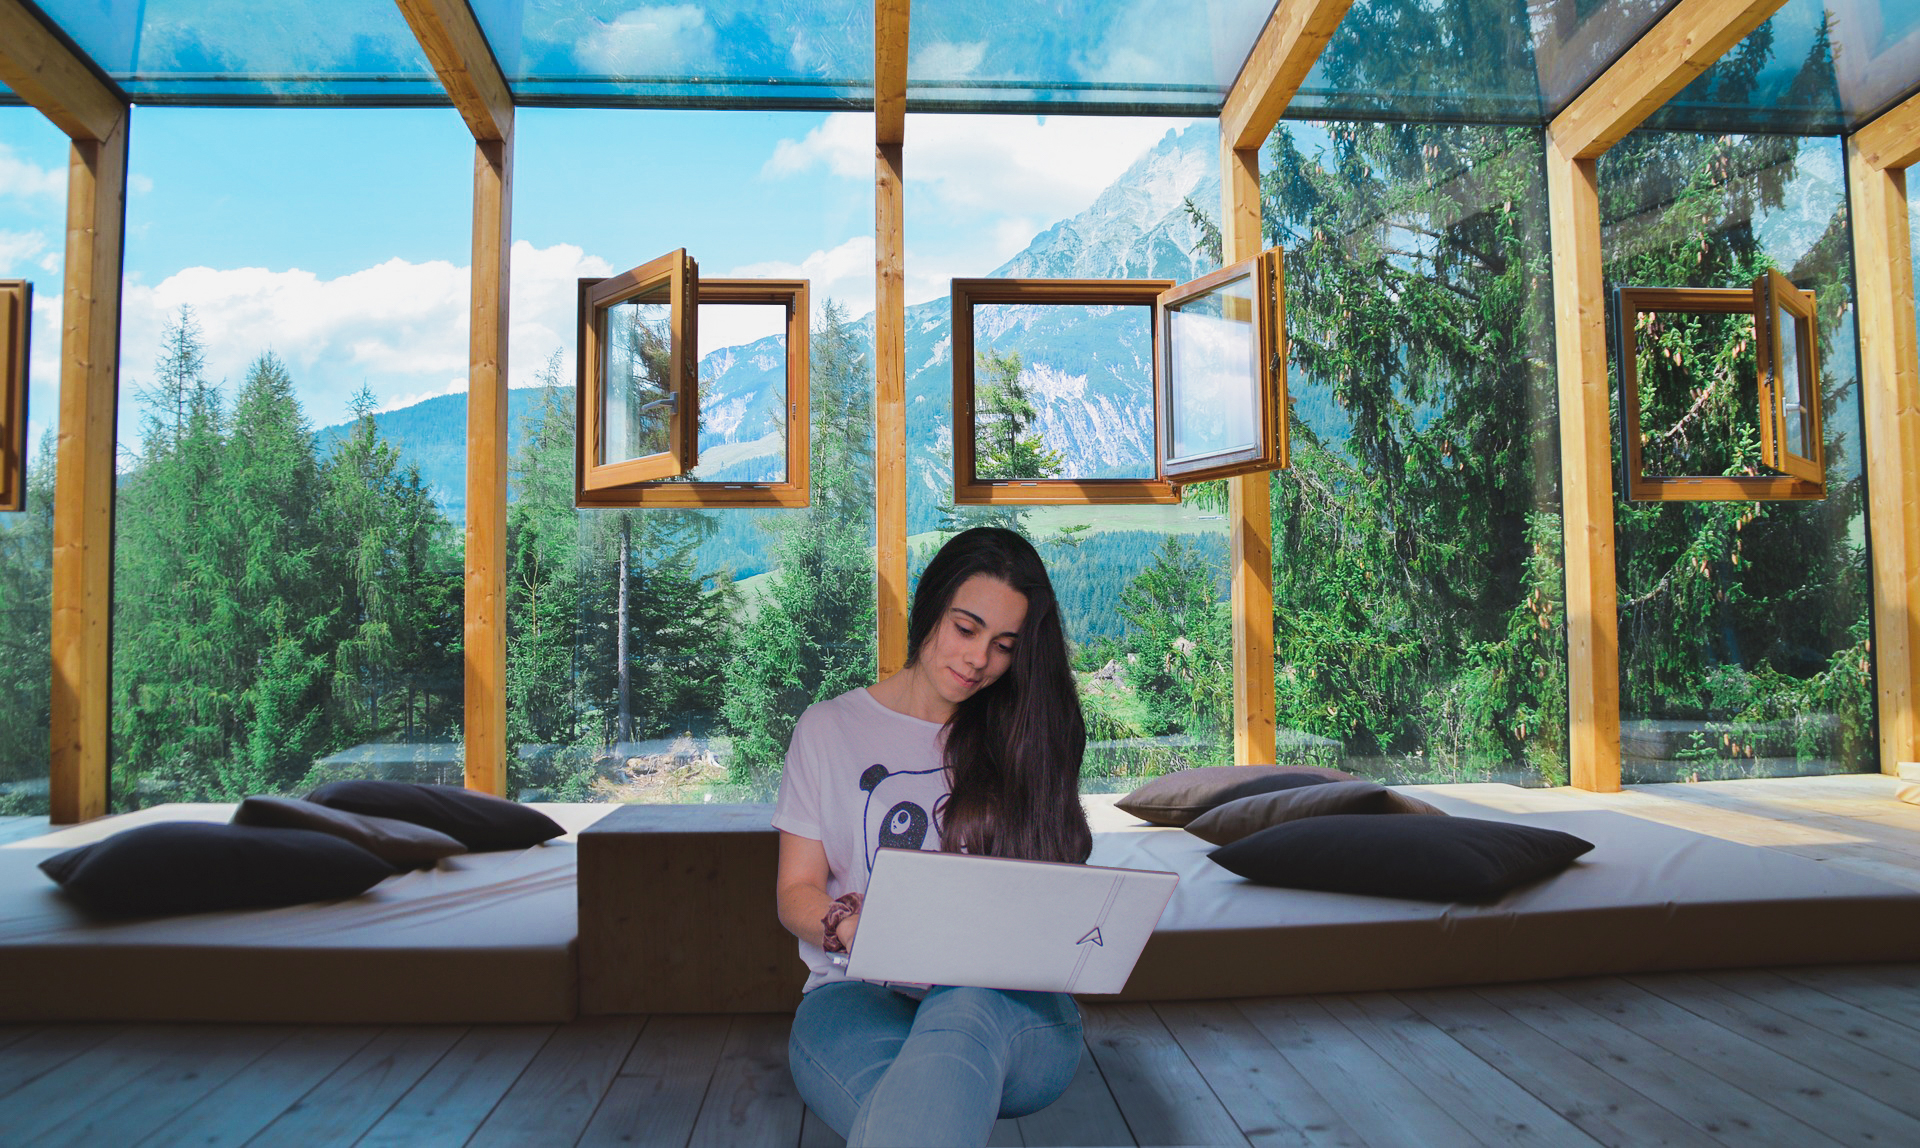
How to start a successful travel blog (complete guide to success)
Starting a successful travel blog is a lot easier than starting a business that requires a lot of upfront investment, and it’s a side hustle you can do while keeping your full-time job. Thanks to this, people are more prone to start a blog than a YouTube Channel, a Travel Agency, or a Travel Event Organization. And if you’re reading this post, chances are, you’re excited about starting your own.
So you’ve set your mind on starting a travel blog, but now you’re not sure where to start. Don’t worry, I got you covered! On this post, I will teach you, step by step, how to start a travel blog that will become a success down the line, from the things that every other travel blogger is talking about, to the things that no one is even mentioning.
Disclaimer: this post may contain affiliate links, meaning I will get a commission if you make a purchase through these links, at no extra cost to you. This allows me to receive compensation for the time and effort invested in creating the best content for you. Thank you for your support!
To help you easily navigate this comprehensive blog post, I will keep a table of contents below so you can quickly find what you’re looking for:
Before you start a blog
So before you start, take some time to think about the following and write down your thoughts so they can make sense.
Pick a niche
But… I am going to be a travel blogger! Yes you are, but you can’t just be a “travel blogger” and expect people to be actually interested in what you do. As you know, there are already plenty of travel bloggers out there, so you have to be different and specific if you want to stand out.
So for example, I am a travel blogger that specializes in off-the-beaten-path destinations (the so-called hidden gems and less travelled locations), as well as urban exploration. My niche is travellers who absolutely love to venture into the unknown and prefer to avoid the crowds and high prices of super trendy tourist hotspots. With my content, I try to fix problems that they might face, such as the lack of information on these least visited places and lack of media coverage on them.
In summary: before you start a blog, you need to decide what problems your content or product will be solving and what your niche is, so that you know what you will be going to write about.
Decide on a domain name

Once you’ve decided what your niche is, it’s going to be a lot easier to decide on a domain name. This is the name you see on someone’s website – for example, “www.itraveltheworld.com“. Your domain is also going to be your brand name, so it should be short and easy to remember.
The more original, the better. Avoid using words like “adventurous”, “traveller”, “wanderluster”, etc., as these are overly used and won’t stand out. And if possible, stick to a “.com” domain as that’s the most popular extension (and easy to remember).
You should pick a name that makes sense, so that readers can understand what your blog is about, but also be something you won’t regret over the years: avoid using nicknames that you have now but you might regret in the future like “www.cutieblondietrips.com“, or using a domain that is time or location-limited. Imagine having a domain “www.imovedtolondon.com” and having to move to New York a couple of years later – the whole I moved to London would make no sense and you would be “trapped” because of your own choice. Or “www.theadventurousteenager.com”, how will you be able to keep that domain as you grow older?
Also, avoid having numbers and hyphens as it will be difficult to explain it to other people.
Remember that the name of your domain is going to be the name of your brand, and you want to keep it along the years (many many years down the line if possible!)
On my blog post about things you should know before starting a travel blog, I go more in depth on the things you should and shouldn’t do when it comes to setting up your domain name.
There are many websites out there, so you will have to check if the domain you want to use is currently available. You can use the box below for that, and I would also recommend checking if the same name is available on all social media platforms that you plan on using later (such as Facebook, Instagram, TikTok, Youtube, Pinterest, Twitter, etc.)
BONUS TIP: There are also subdomains and while most people do not talk about this, I thought I should do in case you are in a similar situation to mine. My main domain is actually “www.danielazzip.com“. I bought this domain initially for my Personal Training website, and since my travel account on Instagram (where I grew my first following) is “@danielazziptrips”, I thought it would make sense to just add a subdomain to my main domain – so I created “www.trips.danielazzip.com“. While this will not be applicable for most people, I thought I should mention it in case you already own a domain that is somehow related to the name you want to create for your travel blog.
Starting a blog
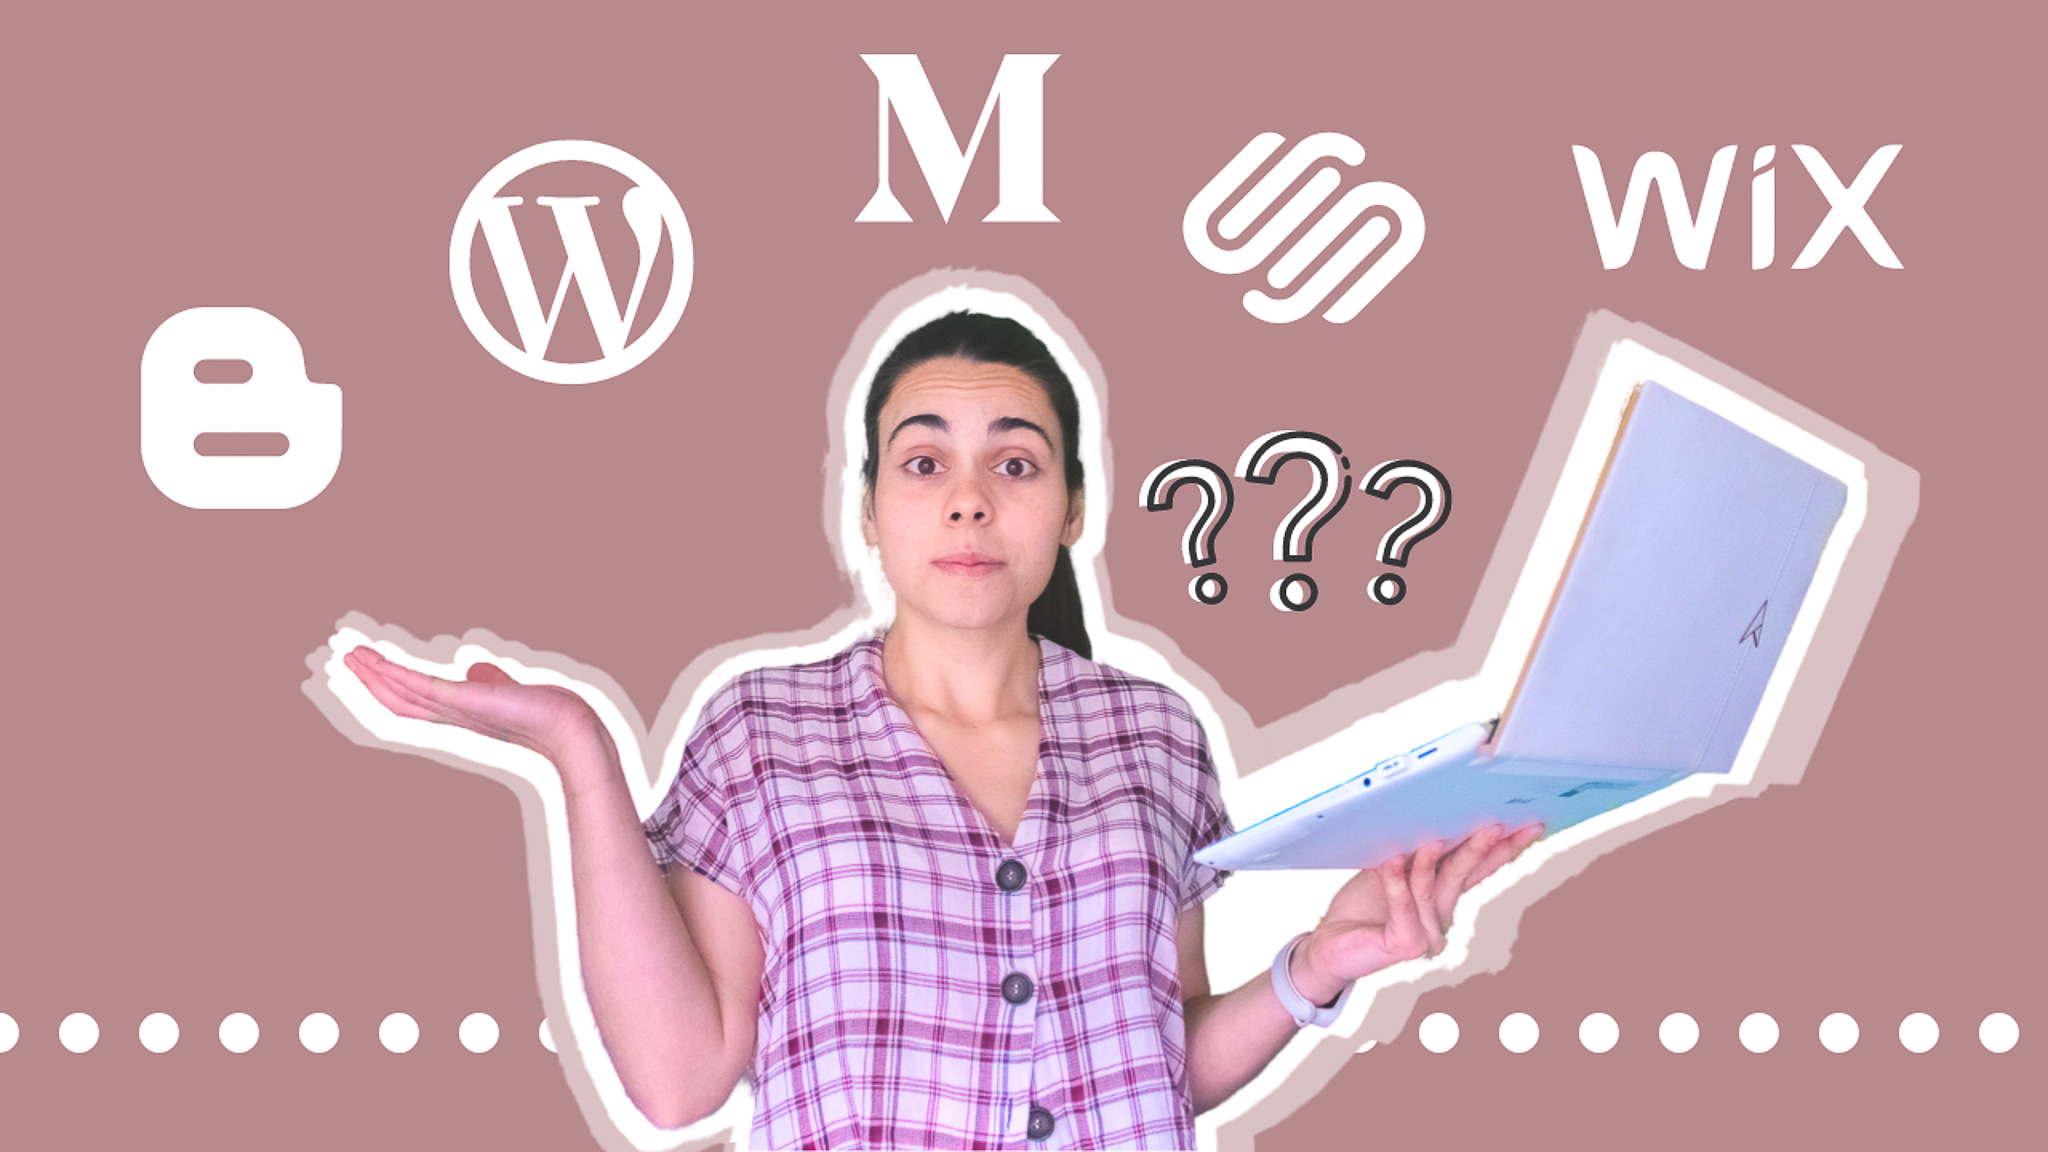
Decide on your blogging platform

Many people would argue that hosting is the first thing you should think about, but again, I disagree, because depending on the blogging platform you choose, you might not even need one.
There are plenty of platforms that you could use for blogging: Medium, WordPress.com, WordPress.org, Squarespace, Wix, Blogger, and many more. These are the most popular and even though all of them have their advantages, you need to be aware that some platforms have important limitations such as not allowing you to add ads onto your website, which will be a problem down the line if you plan on monetising your blog.
On Medium and WordPress.com for example, the advertisement is managed by these platforms so you will only receive a cut. While WordPress.org needs a separate hosting platform, Squarespace, Wix and Blogger don’t. And while you will need to pay for a pricing plan on Squarespace or Wix if you want to have a good blog, that won’t be necessary on Blogger (but of course, there is a catch).
To make it easier to understand the differences between them, as well as figuring it out which one fits your needs the best, I wrote a blog post on which platform you should use for your travel blog.
Set up your hosting platform
")
In order to have your blog available online, it needs to be hosted somewhere. While the blogging platform is the platform that gives you the tools to design the website and write things on it, the hosting platform is responsible for storing all of that information on the Internet, so people can access it. It’s like “paying for the rent” of your website.
Once you’ve decided which platform you’re going to use, you now know if hosting will be included in your plan or if you have to purchase it separately (remember that on the case of Blogger, you are not going to need this). If you decided to go with WordPress.org, you will definitely need one and the most popular one out there is Bluehost.
Bluehost is amazing for beginners due its cheap start-up price. Over time, as you get more and more views on your website, you might need to change to a more costly provider but, as a beginner, Bluehost will be perfect for your needs.
Buy a domain
By now you should have decided on which domain name you want to use.
Most hosting services and some of the paid plans on some platforms (like Squarespace and Wix) will ask you to buy a domain from them or a separate place. Even if the platform you’re using does not require this, you should still consider doing it since it will bring credibility to your website. Let’s put it this way: no one takes seriously blogs with a domain like “www.itraveltheworld.blogspot.com” or “www.itraveltheworld.wix.com“.
Buying a domain is fairly cheap, and you can spend as little as £10 a year to get your domain.
Choose a template for your blog

This is one of my favourite parts of creating starting a successful travel blog, and it might be one of yours too. There is something satisfying about designing a beautiful website, and you will often get super excited over this. While Wix and Squarespace make designing fairly accessible, there are loads of beautiful templates (ThemeForest and Elegant Themes) and great plugins that you can use on Worpress.org. As for Blogger, the options are quite limited when it comes to customization and there aren’t as many templates being produced for this platform nowadays. Nevertheless, you can still find some quite nice ones at Gooyaabi Templates and Sora Templates. I bought mine on Sora Templates and paid a freelancer to later change the main page as I wanted.
Make sure you buy a template that is not only beautiful, but specially ideal to the type of content you are going to put out in your blog.
Adjust your template and home page
After choosing your template, it’s time to make any necessary adjustments so that it fits your blog perfectly. This is the phase where you will remove parts of the template that are not applicable, add any plugins, change the colours and font types if you’re not happy with it, etc.
Add to your home page things like your social media (for example, social media buttons and Instagram / YouTube widgets, if you got any of these
two), recent posts, an e-mail collector box, brief introduction, etc. If you struggle to find what you want to include in your home page, browse through other templates and even other bloggers to find inspiration. And instead of copying what other people do, find your own style and create your customized home page.
Create a logo
A logo is super important when it comes to your brand. That being said, when you have a blog, you don’t necessarily need a super fancy one.
At the end of the day, it will depend on your budget and preferences, and this should not be a headache for you and the only reason why I have included it after optimising your template, it’s simply because you should have your logo on top of the page, and it’s good to have a text or image that people will identify with you.
But if you’re overstressing with this, you might be better off creating something really simple and move on. Even though it isn’t ideal, you can always upgrade your logo at a different time.
Create essential pages
There are a small number of pages that you should definitely add to your blog before you officially launch it. Some because they will attract your readers’ attention and others because they have become legally required.
Below you can find a list of some of the pages (or posts) you should consider creating on your blog before it goes live:
- About me – everyone likes to know who’s behind anything they read, especially when they love the content. By sharing a bit more about who you are and why you do what you do, readers will have a stronger connection with you, which will make them more likely to come back, follow you on social media, or even sign up to your newsletter, as well as keep them on your blog for longer
- About the blog – some bloggers do not include this section on their blog, but I personally like to know why a blogger writes about a certain topic, when did they start, or just read a summary of what I can find in the blog, so that if there are other topics that I am interested in, I will likely keep browsing. By having an “about the blog” page, you will be providing this information to those interested and again, you will be building a connection and keeping your readers entertained
- Contact me – have you ever come across a situation where you desperately want to contact a service or someone and you just can’t find their bloody e-mail? Yep, I have, and I have to say it’s one of the most frustrating things ever. You want to show that you’re available – for your readers to ask questions, for brands to reach out, for collaborations with other bloggers and so on. A contact page doesn’t take long to create and is a super valuable thing that you should totally have in your blog
- Terms & Services (Terms & Conditions) – we all have seen and heard about the famous Terms & Services / Terms & Conditions. They have become mandatory over the years (specially with GDPR), and your blog is no exception. Online transparency has become a thing, and thanks to that, we are required to disclose everything we do and why we do it. If you’re confused about how you’re going to do yours because (guess what), you have no idea of what those legal terms mean and what you should write on yours, I have a couple of suggestions. But before that, just bear in mind that I am no legal advisor, so I would highly recommend you to do a big research on this or even better, hire someone to do this for you. While you can hire a freelancer on Fiverr for a quite reasonable price, you need to make sure you pay someone who actually knows what they’re doing, so go through their reviews, etc. If you don’t have the budget to pay someone to do this for you, use an online generator for that, and then add the adjustments that you consider necessary. You can always browse through similar blogs and see what they have on theirs (to guarantee you’re not missing anything), but remember you CANNOT copy and paste their terms – if you do search for other website terms for inspiration, make sure you write them in your own words
- Privacy Policy – Just like Terms & Conditions, you should also have a Privacy Policy on your website where you disclose what kind of personal data your blog collects from people and how it is used, as well as information about online cookies. Just like I mentioned before, you can either pay someone to create it or generate it online and add the necessary adjustments. Just remember that these are legal terms, and the more protected you are, the better.
BONUS TIP: if you have affiliate links on a certain page, you will have to disclose that. If you only have these links on your posts, you can add a disclaimer on every single one. However, if you have them on your main page for example, you will need to add a disclaimer on that particular page as well.
Set up Google Analytics

I’m surprised by how few people actually mention this, but if you want to start a successful travel blog, you should totally set up your Google Analytics early on your blogging journey. You will need this to see the performance of your blog (how many visits you get, what places are generating traffic, which countries you are reaching, what is the average age range and gender of your readers, and so much more).
This will be extremely useful to get to know your audience, so you can produce more content that they enjoy, test out different posts to see which ones perform the best, test different traffic sources to see which ones you should invest your time in, and finally, allow you to work with brands and apply for ad management sites in the future.
Create 3-4 initial posts
Just before launching the blog, I would highly recommend writing three to four blog posts. If possible, write about what you want to focus on the most in your blog and make them about a similar topic, so people feel the need to go through all of them (for example, instead of writing 4 itineraries about 4 different cities, write 4 separate posts about the same city).
When you announce the launch of the blog, people will likely be curious to visit it. If you don’t have any posts to keep the readers on the blog, they will simply leave after browsing quickly, and won’t even get an idea of your writing style. On the other hand, if you have a couple of posts, they will be more likely to stay longer to read them and will take you more seriously than if you launch something incomplete.
Launch the damn thing!

The most exciting time of starting a successful travel blog is finally here! After checking off the list all of the previous steps, you can finally announce your travel blog 🙂 You will want to use any social media you have, share it with your family and friends, ask them to share with others, spread the word! The more people you can reach, the better.
And be open to receive feedback, especially from those who are your ideal audience. The opinion from your friend who has no interest in the topic you’re writing about shouldn’t be as important as the opinion of a social media follower who is desperately looking for answers to their problems on your blog posts. That being said, remember that everyone is different, everyone likes different things, and there will be good and negative feedback every time. So be self-critical, open to receiving feedback, and try different things out to see what works best for you and your audience!
Growing your blog
Learn SEO
If you’ve been doing research on how to become a blogger, you’ve probably come across (possibly countless times) SEO. SEO stands for Search Engine Optimization. In other words, if you learn and work on your SEO, you will be improving the chances of getting your content shown to more people who are looking for what you’re writing through organic search engine results (ranking high on Google Search!).
SEO is everything in the blogging world, as most of your traffic will come from people who search for your content online, and if you want to succeed, you need to be intentional with your words, image descriptions, linking different posts and so much more, so that you can get your blog shown to more people across the globe.
Set goals, a schedule and a plan

Planning is an extremely important part of any business. You have to set realistic goals and draw a plan so you can achieve them. Ask yourself the following questions:
- When would I like to start monetising my blog?
- How many hours a week can I take to focus on writing?
- How am I planning on driving traffic to my blog?
- How many hours a week can I take to focus on traffic generation?
You might find it difficult to answer these questions, especially if you’re just starting your successful travel blog, but I’ve got you covered. Some people can start monetising their blog within 6 months of writing consistently 3 or more blog posts a week, which is very unrealistic to those who have a full-time job, especially if they have other responsibilities. Monetising within 1 year of blogging is possible if you write consistently 1-2 times a week (ideally 2).
And by monetising, I don’t mean earning over £1000 a month, I mean earning anything over £0. When you start making money with blogging, you will receive very little – but trust me, you will be overjoyed with the little, because it will be the first seeds of your hard work, and over time, you know that it will grow into a profitable business.
Remember that consistency is key, but you will need to have good content, work on SEO and traffic generation so that you can achieve results faster. Just because you write 1-2 times a week, there is no guarantee that you will be monetising your blog within 1 year as I mentioned.
Now that you know that, try merging your availability for writing blog posts and your time goal to get monetised, and set a realistic plan to achieve that. Without a schedule and a plan, our goals are just an idea.
Decide how often you will be writing on your blog, and set a schedule to help you achieve that: setting up a few days or hours a week apart exclusively to blog writing will force you to stick to your plan of writing X amount of blog posts a week.
As part of your plan, don’t forget to also include time to work on your traffic generation, especially on social media platforms such as Pinterest (which works wonderfully on blogs), Facebook, Instagram and more.
Create create create
Use social media to drive traffic

Social media can be a wonderful way to drive traffic to your blog, but it can also be very time-consuming. If you put too much of your time into it, you will waste time that could be spent writing on the blog. Be smart about managing your time on social media and use it to create a community rather than showing off your travel photos. Many travel bloggers don’t have super impressive photos on their Instagram, as they would rather spend their time on writing content than editing photos and creating a cohesive feed – which I guarantee you, it’s not an easy or quick task.
Make sure you make it clear on all social media platforms that you are a Blogger, so any new visitor can be redirected to it. Here are a few tips on what you can do:
- Pinterest – Pinterest is one of the highest traffic generators for many blogs, and so, you should definitely invest your time into it. Create beautiful pins that will drive traffic to your website and see your visitor numbers increasing rapidly as you do so
- Instagram – let people know that you are a blogger: write it on your bio (including your niche) and add the link to it, mention on your stories every time you release a new post, and occasionally mention it on your posts too
- TikTok – similarly to Instagram, mention what you do on your bio and add the link to your blog. You can occasionally mention your posts on some of your videos (if applicable)
- Twitter or Facebook – add a profile cover photo and a description that mentions what you do and share the posts on these platforms as you publish them
- YouTube – add the link to your blog on the channel page and produce content that relates to what you write about on the blog. Repurposing content is a great idea if you have both a blog and a YouTube channel, and by doing so, you will be able to mention your blog on the videos and add a link to relevant posts in the description
Build your mailing list

Having a mailing list is important to keep in touch with your readers, give them a reason to come back frequently to your blog, announce future events, potentially close sales or recommend products that you might get a commission from, and ultimately have a faithful tribe that is willing to follow you no matter what. On top of that, if something ever happens to your website, having a list of people who are interested in your content will allow you to inform them of what happened and where you’re heading off next.
Try not to delay this for too long: the sooner you start collecting e-mails, the better.
BONUS TIP: People generally don’t leave their e-mail just because they like your content – they need a reason for joining your mailing list. So instead of just promising them updates, tips, and “other cool stuff”, make sure you produce an exclusive piece of content that people desperately want and make it available for those joining the mailing list, so that they will happily leave their e-mail in exchange for the free gift.
Sign up for Google AdSense
After having a certain number of posts on your blog and a few visitors, you can sign up for Google AdSense, to have advertisements displayed in your blog and hopefully start earning a few pennies soon.
While Google AdSense pays very poorly, other ad management sites will only accept you once you hit a certain amount of monthly visits, so you will have to work quite hard until you can get better paychecks (like 3 times the value you would get with Google AdSense)
Sign up for affiliate programs

But fear not, there are other ways to make money! And one of them (a quite popular one, actually) is affiliate marketing. If you have no clue of what that is, it’s basically promoting other brands’ products by adding customised links within your content, and whenever a visitor clicks on that link and makes a purchase, you will get a commission out of it.
This is different to sponsored posts (which are a lot harder to get as a newer blog), and although I would recommend you to have a few posts before you try to apply to affiliate programs (since they will need to revise your website and see if you would be a good fit for it), you can quite easily get accepted into such programs and add links that will eventually generate income along the years.
There’s a lot that goes into affiliate marketing, so I would totally need to do a separate blog post on this, so let me know if you would be interested in such thing! 😀
BONUS TIP: In order to sell affiliate products on your blog successfully, I would recommend you to write useful content and include these products without feeling like a sale (you will be suggesting products to fix your readers problems instead of suggesting just to get a commission). And don’t forget that you have to disclose every time you have such links on your posts!
Collaborate with other bloggers
Creating a good network is super important when you work online, and travel blogging is no exception to this. You can reach out to other bloggers to collaborate with them, talk about them on your posts, be a guest on a quite popular travel blog, and so much more. There’s plenty of ways to get your blog exposed to your ideal audience and have your blog linked in other websites too.
And that was it for this very long blog post on how to start a successful travel blog! I hope you found it useful and I truly wish you a massive success with your travel blog! Before you leave, have a look at the things you should know before starting a travel blog so that you don’t miss on anything!
📍 Did you like this post? Pin it for later


")